Freshly painted walls or furniture can transform a space, but there’s one important task that often gets overlooked in all the excitement: removing old paint. Let’s face it—this part isn’t exactly glamorous. However, taking the time to strip old paint pays off big time when it comes to achieving a smooth, long-lasting finish. We’ll take you through the entire process of how to remove old paint, starting from the basics and addressing all those “Uhm wait, what do I do now?” moments. Whether you’re tackling this as a DIY project or considering hiring professional painting companies to handle the job, this guide has got you covered.

Why Removing Old Paint Matters
Before we get into the nitty-gritty, let’s quickly talk about why this step matters so much.
Old paint—especially if it’s peeling, cracked, or uneven—will create a poor foundation for your new coat of paint. You don’t want to spend hours painting only to have the finish look lumpy or start peeling again a few months later. Removing old paint helps you get back to a clean slate, so the new paint can stick properly and look its best.
Tip: If your home was built before the 1990s, there’s also a chance the old paint contains lead. This is serious business because lead-based paint can be harmful when disturbed. Always test for lead (you can buy simple kits at Canadian Tire or Home Depot) and take extra care if it’s present.
Step 1: Gather Your Tools
Removing old paint isn’t a one-method-fits-all kind of job. The tools you’ll need depend on the type of surface you’re working with and how stubborn the paint is. Here’s a list to get started:
- Safety gear: Gloves, goggles, and a dust mask or respirator.
- Painter’s tape: To protect areas you don’t want to damage.
- Drop cloths or plastic sheets: To keep your floors and furniture clean.
- Scraper: A putty knife or paint scraper is essential.
- Sandpaper: For smoothing surfaces. Get a mix of coarse and fine grits.
- Chemical paint stripper: For thick or stubborn layers of paint.
- Heat gun: Useful for loosening paint on wood or metal.
- Bucket of water and sponge: To clean the surface after you’re done.

Step 2: Prep Your Space
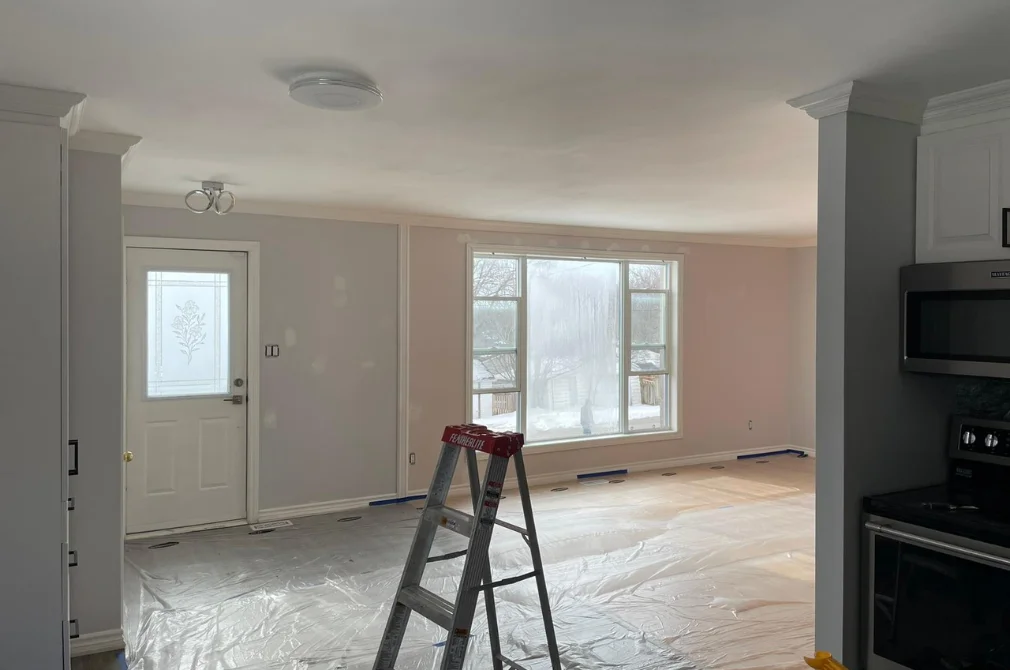
Removing old paint is messy—there’s no sugar-coating it. Start by prepping your space so you don’t end up with dust or paint chips everywhere.
- Move furniture: Clear out the room or cover furniture with plastic sheeting.
- Lay down drop cloths: Protect your floors from paint chips and debris.
- Tape off edges: Use painter’s tape to cover areas like trim, windows, or anything else you don’t want to scrape or sand accidentally.
- Ventilate the room: Open windows and set up fans if possible, especially if you’re using chemical strippers or sanding.
Step 3: Choose Your Paint Removal Method
Here’s where things can get interesting. Not all old paint comes off the same way, so you’ll need to pick the method that works best for your surface and paint type.
1. Scraping (Great for Loose Paint)
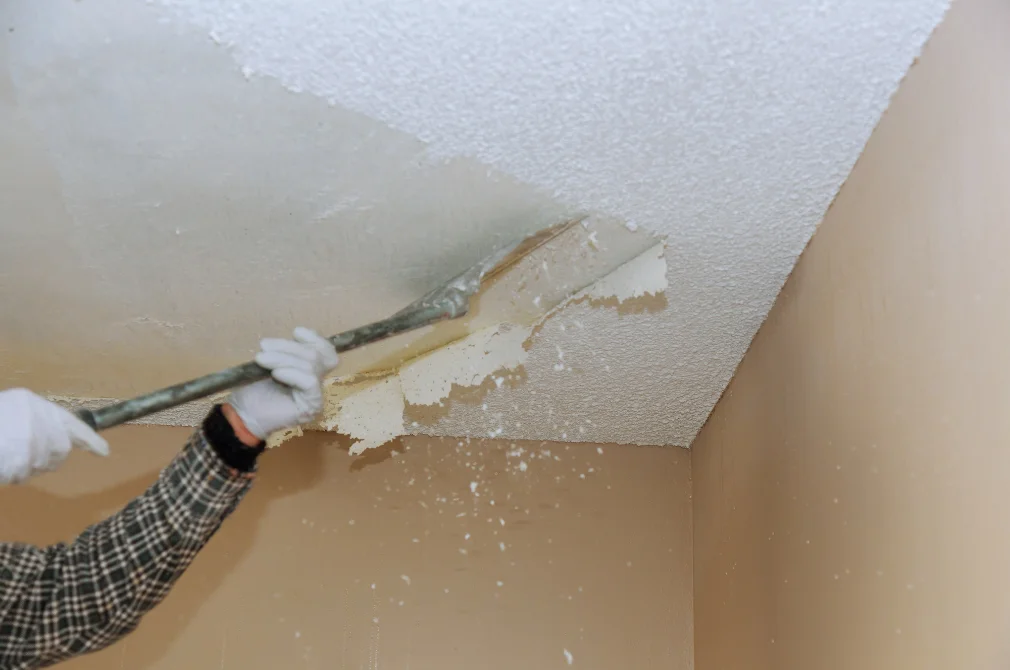
If the old paint is already peeling or flaking, you’re in luck. A paint scraper or putty knife is your best friend here. Hold the scraper at a 45-degree angle and gently push it under the paint to lift it off.
- Pro tip: Don’t gouge the surface by pressing too hard. You’re aiming to remove paint, not dig into the wall or wood underneath.
2. Chemical Paint Strippers (For Thick Layers)
Chemical strippers are a lifesaver when you’re dealing with stubborn, layered paint. Apply the stripper according to the instructions on the package, and let it sit for the recommended time. The paint will start to bubble or soften, making it easier to scrape off.
- Safety note: Wear gloves and a mask, and make sure the room is ventilated. Some strippers are harsh and shouldn’t come into contact with your skin.
3. Sanding (For Smoothing Things Out)
Sanding is ideal for smoothing rough edges after scraping or for removing thin layers of paint. You can use sandpaper or a power sander for larger areas. Start with a coarse grit to remove paint, then switch to finer grits for a smooth finish.
- Careful on drywall: Sand lightly on drywall to avoid damaging it.
4. Heat Gun (For Stubborn Paint on Wood or Metal)
Heat guns work by softening the paint so you can scrape it off more easily. Hold the gun a few inches from the surface and move it in a circular motion. Be careful not to linger in one spot too long, as you can scorch the wood or damage the surface.

Step 4: How Deep Do You Go?
This is a common question we get: How much paint do you actually need to remove? The goal isn’t always to strip the surface down to bare material. You just need to remove the layers that are peeling, cracking, or uneven.
Here’s a rule of thumb:
- If the existing paint is smooth and firmly adhered, you might only need to sand lightly.
- If it’s peeling or flaking, those layers have to come off completely.
Use your scraper or sander to test a small area first. If you’re working with drywall, be gentle—it’s easy to damage the surface if you go too hard.
Step 5: Clean and Prep the Surface
Once the old paint is removed, you’re not quite done yet. Wipe down the surface with a damp sponge or cloth to remove dust, debris, or any leftover residue from a chemical stripper.
For a flawless finish, sand the surface lightly to smooth out any imperfections. This creates the perfect base for primer and paint to adhere to.
How to Dispose of Old Paint
So, what do you do with all those paint chips and leftover materials? Old paint, especially if it’s lead-based, needs to be disposed of carefully.
- Check local regulations: Most municipalities have hazardous waste collection programs for paint and other chemicals.
- Dried paint: If the paint is dried out, you may be able to throw it away with regular trash. To dry out paint, mix it with cat litter or a paint hardener and let it solidify first.
- Chips and debris: Collect paint chips in a sealed bag and dispose of them with hazardous waste.

Final Tips for Success
- Take it slow: Removing paint can be a tedious process, but rushing can lead to damaged surfaces.
- Test first: Always test your method on a small, hidden area to see how it works.
- Don’t overdo it: The goal isn’t perfection—just a clean, smooth surface that’s ready for primer and paint.
Removing old paint might not be the most exciting task, but it’s a key step to getting a professional-looking finish. With the right tools, a little patience, and these tips, you’ll be ready to tackle your next painting project like the pros here at Encore Painting!